Adobe ExtendScript Dev for Apple Silicon Macs


5/13/2025 UPDATE:
Adobe has added native support for Apple Silicon, see more info in this updated blog post:

( legacy workflow below... )
You've got a new Mac and everything is moving at lightning speed, except one thing, ExtendScript development.
You might experience issues running the VS Code debugger, creating JSXBIN files from your source code, or bundling ZXPs to distribute your CEP panels.
Not to worry, there is a solution to all of these items, and this guide will walk you through the process to get back up and running in no time.
The Problem
New M1/M2/M3 Macs run on an Apple's implementation of arm64 architecture commonly known as Apple Silicon. This is different than traditional 64-bit (x64) systems. So to clarify terms going forward:
- x64 = 64 bit architecture ( Intel Macs )
- arm64 = Apple Silicon ( M1 / M2 / M3 Macs )
The reason you're running into problems when trying to build JSXBIN files, debug ExtendScript, or create ZXPs on arm64 Mac is because the binaries that run these files aren't compiled for arm64, they're built for x64.
The Solution
The solution here is to ensure you're running these binaries in an x64 environment, which can typically be achieved by running apps in Rosetta mode or more easily installing Intel versions of software, as outlined in this guide:
1. VS Code
To start, you'll want to make sure you download and install the VS Code for Intel chips:
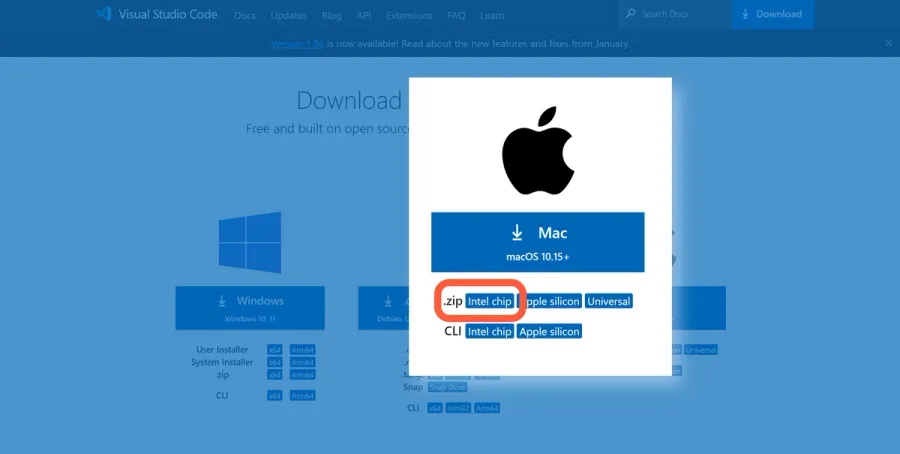
As you can guess, the Intel build of VS Code won't run quite as fast as the arm64 build, so developers will still want their regular arm64 install of VS Code installed. After installing this new version, you can rename the shortcut to something like "Visual Studio Code (Intel)" to tell them apart.

Now once you launch VS Code Intel, all your actions will be within an x64 environment.
Next you'll want to install the Adobe ExtendScript Debugger extension, even if you've already installed it for your regular VS Code, this will ensure it is setup properly:
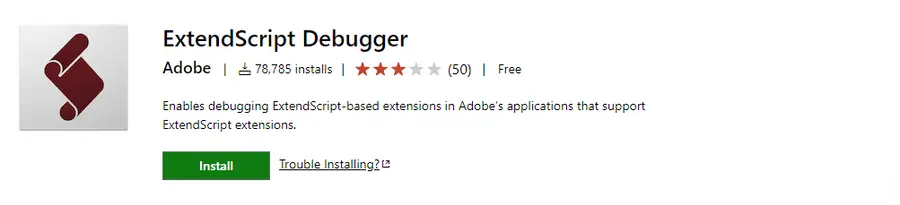
Now anytime you use the debug features of the extension, or create a JSXBIN file, it will all function properly under an x64 environment.
( For more info on getting started with scripting for Adobe apps, see Building Adobe Scripts. )
2. Node.js
Now you may still experience issues when creating a JSXBIN file or creating a ZXP distributables for your CEP panels even after the VS Code setup, and this could be due to your Node.js install.
Just like VS Code, your Node.js install may have been setup for solely arm64 and not x64. Many packaging systems like homebrew will only install the architecture-specific binary (in this case, only arm64), not a universal binary that supports both architectures.
The easiest fix is to install Node.js from the offical website:
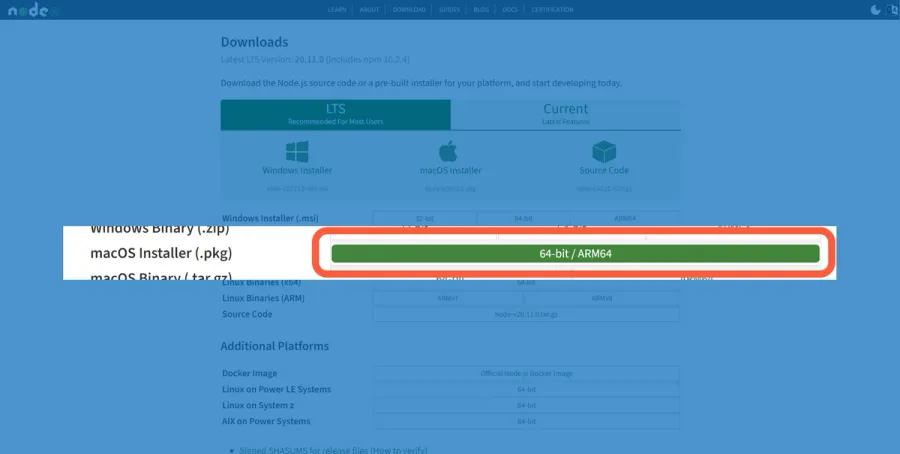
After downloading and running this installer, you can now run Node.js in either an x64 or arm64 environment so those errors you experienced before will go away.
( For more info on getting started with extensions for Adobe apps, see Building Adobe Extensions. )
Conclusion
Now you're all set to start debugging ExtendScript, building JSXBIN files, and creating ZXP distributables on you arm64 Mac. Just remember if you're working in a non-ExtendScript project you'll probably want to stick with the arm64 version of VS Code to make sure you're running at max performance.
Have questions on getting started? Reach out to the Hyper Brew team and we'd be happy to help!